(A 4 minute read)
Part of my job entails creating marketing content for L-Tron products. Last week, the team asked me to stop by the office to learn more about one of our exciting new products: OSCR360.
If you don’t already know, OSCR360 is a solution that allows users to take a 360-degree photo for use in a variety of applications.
When I arrived at the meeting to “get the scoop” on OSCR360, I expected to sit in the conference room, listening to L-Tron engineers and sales leaders teach me everything I needed to know about the product in order to create marketing content.
I certainly did NOT expect to be handed some equipment and told to give it a try — but that is exactly what happened.
The purpose behind this experiment was two-fold.
- First, the team wanted to find out if the OSCR360 equipment is as easy to use as they intend it to be. What better way to test that hypothesis than to give the equipment to me, someone who had never even laid eyes on it before, and ask me to set it up and use it without any training.
- Then, the team wanted to observe me to determine whether there were additional improvements they could make based on how I instinctively interacted with the hardware and software.
To put it lightly, I was apprehensive. Yes, I work for a technology company, but I am no technology expert.
I am the type of person who asks someone else to change the printer cartridge and has to Google “how to take a screen shot with my iPhone” (seriously, I had to look that up). Yet there I was being handed a brand new technical product that I knew almost nothing about. Yikes. Naturally, my initial reaction was that this was going to end badly.
To my surprise (and relief – phew!), my initial reaction was wrong.
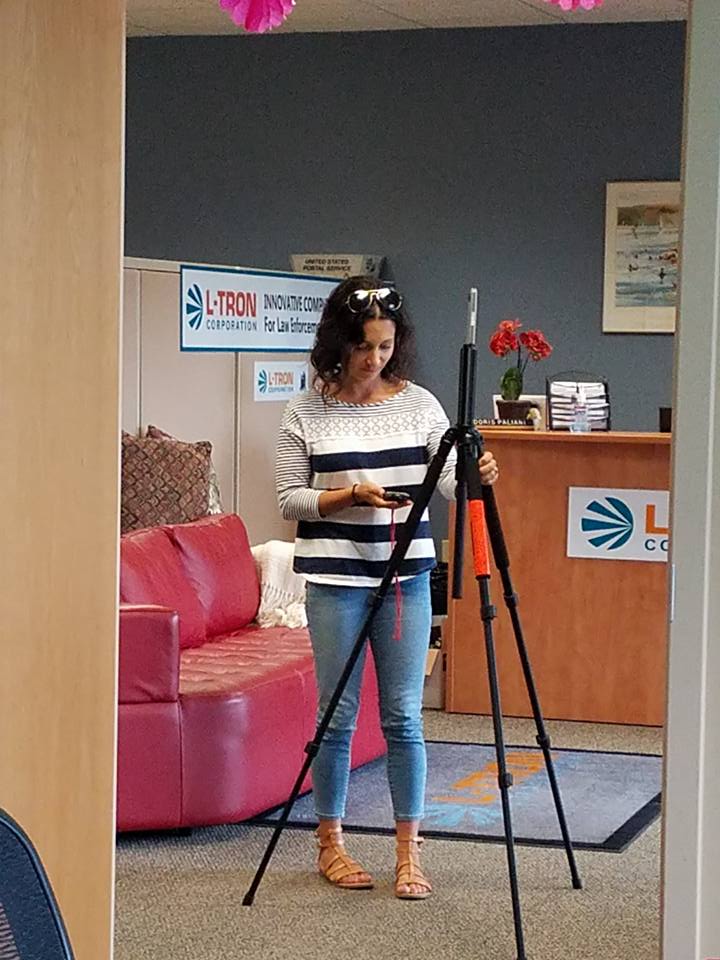
First, the hardware. The OSCR360 hardware consists of:
- a Samsung Galaxy tablet
- a sensor tube
- a tripod
- a case
- a camera
My goal was to set up the hardware and use it take a 360-degree photo. I first noticed that the tripod has a screw at the top. I looked over the other hardware pieces and saw that the bottom of the camera is fitted with a female screw receiver. I then noticed that the sensor tube has a screw on one end and a female screw receiver on the other end.
Instinctively, I understood that the only logical way for these three pieces to fit together is to screw the camera onto the sensor tube and then screw the sensor tube to the tripod. Once I had these pieces assembled, I turned on the Galaxy tablet.
I don’t have any Android devices, so I was unsure whether it would be difficult to use. It took me a few seconds to get oriented, but I was able to easily and quickly identify the OSCR360 icon on the screen.
- I selected that icon and opened the OSCR360 application.
- The application indicated that the camera was connected and prompted me to either select a project or create a new project. This step determines where the photos will be stored.
- From there, with the simple click of a button, I was able to capture a 360-degree photo of the office.
The whole process took less than ten minutes – and that is without any training.
The entire team agreed that OSCR360 is truly a solution for anyone and everyone.
To find out the details of my experience with the OSCR360 software, check out Part 2 of my blog or visit our OSCR360 Website here.
Questions on OSCR360?
![]() Call 800-830-9523 or
Call 800-830-9523 or ![]() Email info@L-Tron.com
Email info@L-Tron.com