True & Accurate Police Photography, Part 4: Metering & Metering Modes
Welcome back to our blog series on police photography. If you’re joining us for the first time, you can catch up by beginning with Part 1 of the series, here.
Now, onto Part 4 – where we will discuss metering & metering modes
Photography is sometimes referred to as “the mastery of light.” This definition is more poetic than technical, but it gets the point across: a true and accurate photograph requires proper exposure. That means you, the photographer, must know how your camera “sees” light and what it does with it.
Your camera contains a reflected light meter. This sensor measures the lightness (or darkness) of the scene with no concern for actual color. The meter is calibrated for an “average” scene – one in which the spectrum of tones (from lightest to darkest) will average out to a medium gray. This works well if the scene is evenly lit and light and dark areas are evenly distributed.
If you always photographed evenly lit, “average” scenes, the exposure portion of your camera’s auto mode would perform acceptably. Of course, other concerns such as depth of field, white balance, and color saturation might not be adequately addressed, but the exposure would be right. Unfortunately for forensic photographers, crimes and crashes occur at all hours of the day and night, in all weather, and in any number of lighting conditions.
President Reagan used to say “trust but verify” when engaged in diplomacy. You should have a similar relationship with your light meter. Trust it gives you accurate feedback based on its calibration, but verify its suggested exposure settings capture your scene accurately. Meters can be fooled.
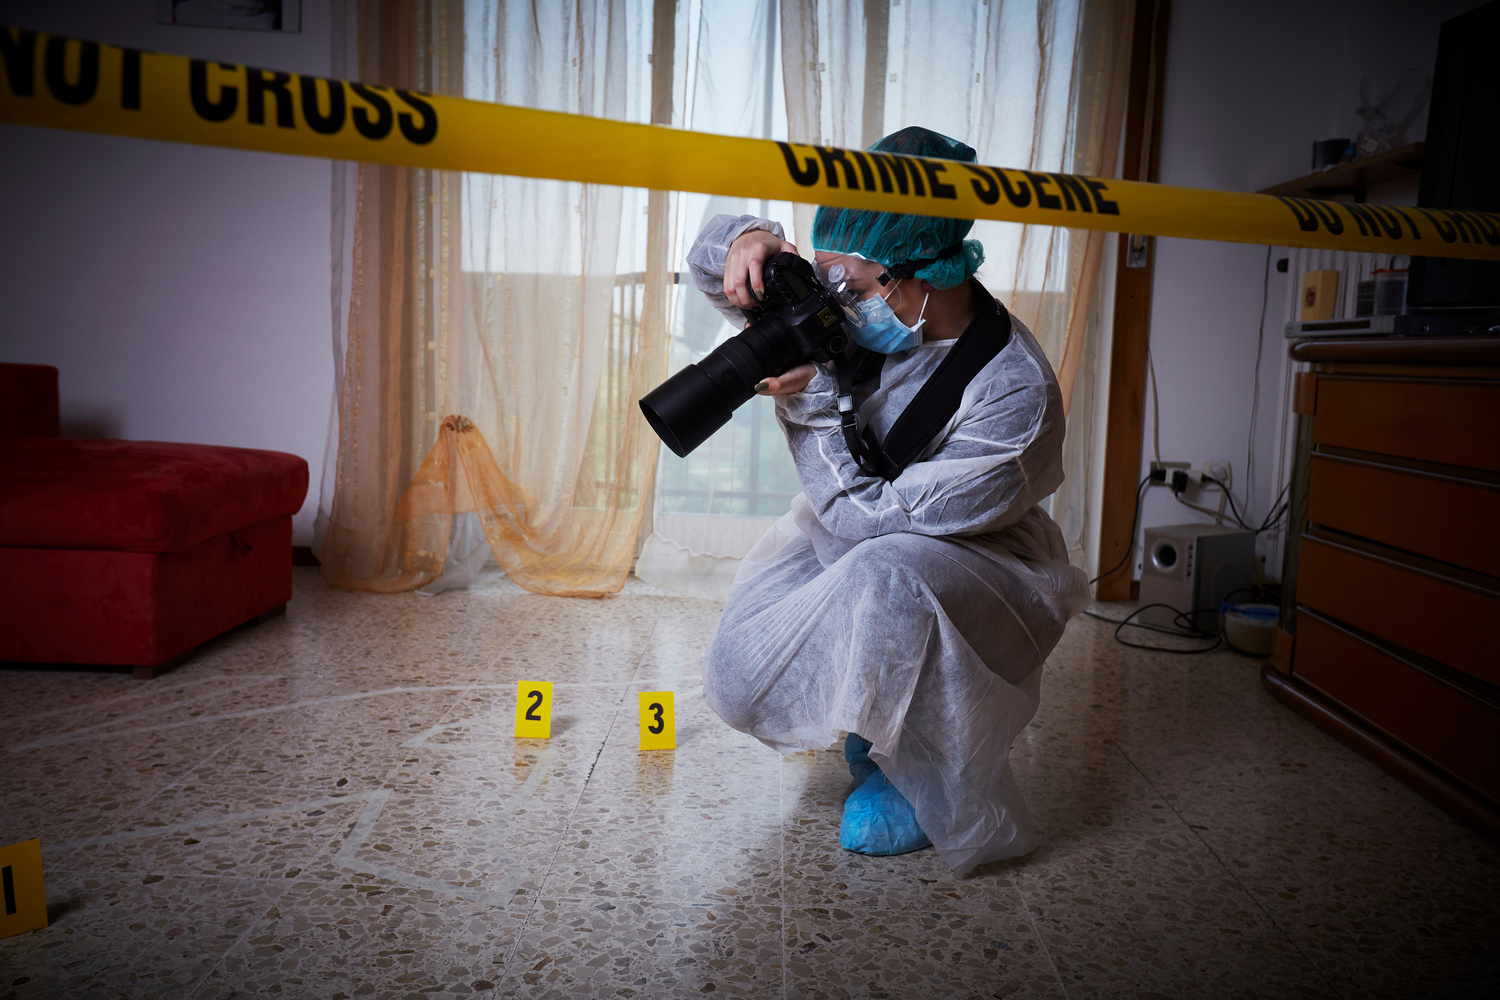
Crime scenes invariably produce lighting challenges. Because it is necessary to provide a “true and accurate” depiction of the scene, all areas must be photographed, and all angles must be shown. Reflective surfaces, backlighting, snow, darkness, blood – all are factors likely to produce an inaccurate exposure. Fortunately, any challenge can be overcome, usually by a variety of methods.
First, understand the meter itself can be adapted for various purposes. Typical meter modes include:
- Matrix metering modes – takes in all available light and averages it according to preset programming
- Center-weighted average metering – does the same thing as matrix but assigns more importance to the light reflected from the center of the scene
- Spot metering modes – ignores the majority of the reflected light in favor of an even smaller, central circular area.
Most forensic applications, coupled with any of the following techniques, are well-suited for the matrix metering.
The easiest way to minimize exposure problems is to get in the habit of bracketing shots. With this technique, a photo is taken using the meter’s recommended settings, followed by a deliberate overexposure and a deliberate underexposure. The additional exposures are typically one or two stops above and below the “correct” stop and can be made by adjusting either aperture or shutter speed. Some cameras have an automatic bracketing function that creates all three exposures with a single press of the shutter release. Bracketing plays the odds – ideally one of the three exposures will be accurate. In keeping with this series’ “trade-off” theme, the price for bracketing is a need for storage space for additional images.
Instead of wholesale bracketing, it is more efficient to master your camera and use its tools to fine-tune your exposure. Once you make peace with manual mode and are proficient with its use, reading the meter and adjusting your exposures will be a natural reflex. A shortcut to manual mode is exposure compensation, as long as you only want to adjust the aperture. The trade-off to this convenience may be a diminished depth of field.
The above methods allow for exposure adjustment after the light is measured by the meter. An additional tool is exposure lock. This involves moving the camera toward the subject until the meter is fully within the desired lighting condition, activating the lock, and returning to the desired shooting position to take the photograph.
Whatever you choose – meter selection, manual mode, exposure compensation, or exposure lock – remember, it is up to you as the forensic photographer to provide the jury with a true and accurate portrayal of the scene.
In part five of this eight-part series, we will explore color and white balance.
Looking for additional information on your camera meter & metering modes? Want to sharpen your forensic photography skills? L-Tron offers a Forensic Photography Refresher course, geared towards escaping manual mode. For more information & to receive information on our next course, visit: L-Tron.com/intro-forensic-photography-course